
Managing the member list
Last modified: 21 May, 2024
BNI+ is not directly connected to BNI Connect. We do however routinely update members and their roles from BNI.
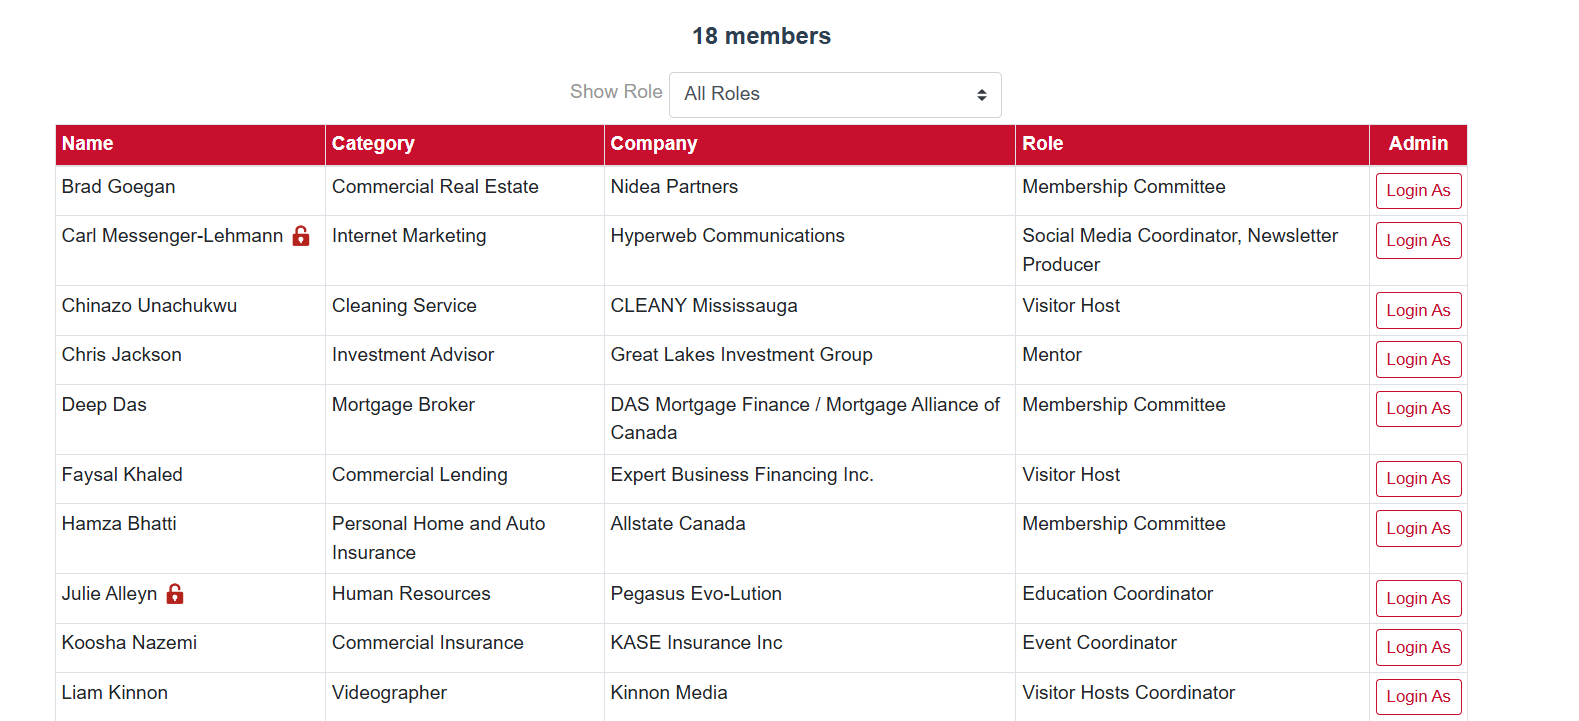
When a chapter is first activated, it will appear with the latest member list and role assignments. You can access the member list from the menu by going to Chapter > Members.
Once a chapter is activated, only the member roles will be updated from BNI.
You can filter the member list by role or add new members from the options at the bottom of the page.
One of the steps to setting up a chapter is to browse the member list and confirm roles and categories. Quite often the wording of the category is different within a chapter than the official category.
The details, roles, permissions
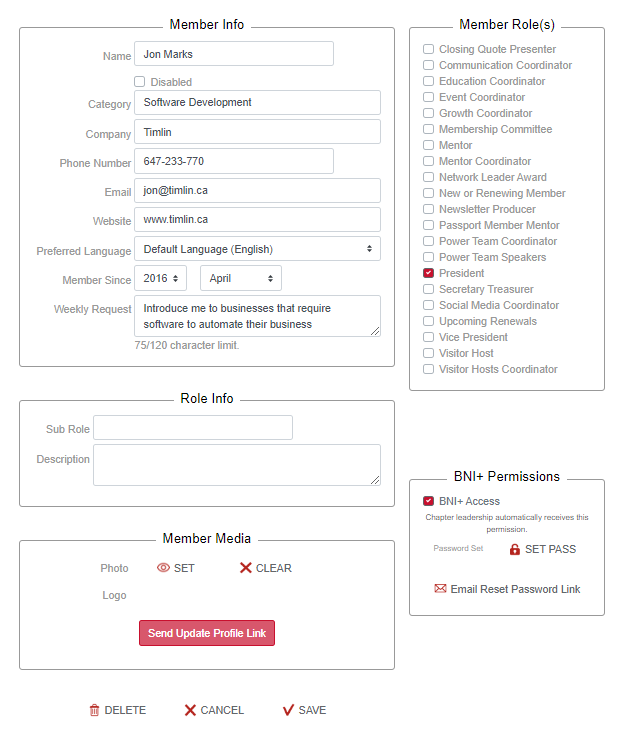
The member detail view appears when a member is selected and allows all info, roles and media to be updated.
You can update all member info from here as well as assigning one or more roles.
You can set the member’s photo and logo or send them an invite to do so by selecting the Send Update Content Link button.
Depending on your region, you may or may not use or display some information such as the Member Since, the Logo and Tagline. Enabling these options is a regional setting.
A disabled member will remain in the list but will not appear in the controller, slides or newsletter.
Related Topics: